Contouring and highlighting are makeup techniques used to enhance facial structure. Contouring involves applying darker shades to create shadows and define areas like cheekbones, jawline, and nose. Highlighting uses lighter shades to accentuate features such as cheekbones, brow bone, and the bridge of the nose.
These methods can create the illusion of a more sculpted face when applied correctly. Various makeup products can be used for contouring and highlighting, including cream or powder palettes, contour sticks, and highlighter powders or creams. Proper blending is crucial to avoid harsh lines and achieve a natural look.
Selecting appropriate products and tools for one’s skin type and face shape is essential for optimal results. Successful application of these techniques requires a solid understanding of light and shadow interactions with facial features. It is important to grasp the fundamentals of contouring and highlighting before attempting them, as improper application can lead to unnatural or unflattering results.
Key Takeaways
- Contouring and highlighting are makeup techniques used to define and enhance facial features.
- Choose products that are a few shades darker for contouring and a few shades lighter for highlighting.
- Different face shapes require different contouring techniques, such as sculpting the jawline for a round face.
- Highlighting techniques vary based on face shape, such as focusing on the cheekbones for a heart-shaped face.
- Blending and layering are essential for achieving a natural-looking contour and highlight.
Selecting the Right Products for Contouring and Highlighting
Choosing the Right Products for Your Skin Type
When it comes to selecting the right products for contouring and highlighting, it’s essential to consider your skin type and personal preferences. For those with oily skin, powder products may be more suitable as they can help control shine and oil production. On the other hand, those with dry skin may prefer cream products as they can provide a more dewy and hydrating finish.
Selecting Shades for Your Skin Tone
It’s also crucial to choose shades that are suitable for your skin tone. For contouring, opt for a shade that is a few shades darker than your natural skin tone, while for highlighting, choose a shade that is a few shades lighter. There are various products available for contouring and highlighting, including contour and highlight palettes, contour sticks, and individual powder or cream products.
Key Factors to Consider When Selecting a Product
When selecting a product, consider its blendability, pigmentation, and longevity. It’s also important to choose the right tools for application, such as brushes or sponges, as they can greatly impact the final result. Experimenting with different products and tools can help you find what works best for your skin type and desired makeup look.
Techniques for Contouring Different Face Shapes
Contouring techniques can vary depending on the shape of your face. For those with a round face shape, contouring can help create the illusion of more defined cheekbones and a slimmer jawline. To achieve this, apply a darker contour shade along the hollows of the cheeks and blend upwards towards the temples.
For those with a square face shape, focus on softening the angles of the face by applying contour along the jawline and blending towards the chin. Additionally, apply contour along the hairline to create the illusion of a more oval-shaped face. For those with a heart-shaped face, focus on contouring the forehead to minimize its width and create balance with the rest of the face.
Apply contour along the temples and blend towards the hairline to achieve this effect. Lastly, for those with an oval face shape, focus on enhancing the natural structure of the face by applying contour along the hollows of the cheeks and blending towards the hairline. It’s important to blend the contour seamlessly to avoid any harsh lines and achieve a natural-looking result.
Techniques for Highlighting Different Face Shapes
| Face Shape | Highlighting Technique |
|---|---|
| Round | Apply highlighter on the high points of the face to create the illusion of length and definition. |
| Oval | Focus on the center of the face to enhance the natural symmetry and balance. |
| Square | Highlight the top of the cheekbones and the center of the forehead to soften the angles. |
| Heart | Highlight the temples and the center of the forehead to create balance with the pointed chin. |
| Diamond | Emphasize the cheekbones and the center of the forehead to enhance the natural structure. |
Highlighting techniques can also vary depending on the shape of your face. For those with a round face shape, focus on applying highlighter to the high points of the face, such as the cheekbones, brow bone, and the bridge of the nose. This can help create the illusion of more definition and dimension.
For those with a square face shape, focus on applying highlighter to soften the angles of the face by applying it along the tops of the cheekbones and blending towards the temples. For those with a heart-shaped face, focus on applying highlighter to the center of the face to draw attention to the eyes and create balance with the rest of the features. Lastly, for those with an oval face shape, focus on applying highlighter to enhance the natural structure of the face by applying it along the high points of the face and blending towards the hairline.
It’s important to blend the highlighter seamlessly to achieve a natural-looking glow without any harsh lines.
Blending and Layering for a Natural Contour and Highlight
Blending is key when it comes to achieving a natural-looking contour and highlight. Harsh lines can make the makeup look unflattering and unnatural, so it’s important to blend thoroughly to achieve a seamless result. When applying contour, start with a small amount of product and build it up gradually to avoid applying too much product at once.
Use a blending brush or sponge to blend out any harsh lines and ensure that the contour looks natural and well-blended. When it comes to highlighting, it’s important to apply a small amount of product to avoid looking overly shimmery or greasy. Use a highlighting brush or sponge to blend out any harsh lines and ensure that the highlight looks natural and radiant.
Layering can also help achieve a more intense contour or highlight if desired. By layering cream products with powder products or using different shades of contour or highlight, you can customize your makeup look to suit your preferences.
Tips for Mastering Contouring and Highlighting for Special Occasions
Choosing the Right Products
When it comes to special occasions such as weddings or parties, it’s essential to use makeup products that are long-lasting and photograph well. Opt for products specifically designed for photography or special occasions, as they can help ensure that your makeup looks flawless in photos.
Techniques for a Flawless Finish
To ensure that your makeup lasts throughout the event, consider using techniques such as baking or setting your makeup with a setting spray. This will help your makeup stay in place and look fresh all night long.
Balancing Your Overall Look
When contouring and highlighting for special occasions, it’s crucial to consider the overall makeup look. For example, if you’re going for a more dramatic eye look, consider toning down the intensity of your contour and highlight to achieve a more balanced overall look. This will ensure that your makeup looks stunning in person and in photos.
Common Mistakes to Avoid When Contouring and Highlighting
There are several common mistakes to avoid when contouring and highlighting. One common mistake is using too much product, which can make the makeup look heavy and unflattering. It’s important to start with a small amount of product and build it up gradually to achieve a natural-looking result.
Another common mistake is using shades that are too dark or too light for your skin tone, which can make the makeup look unnatural. It’s important to choose shades that are suitable for your skin tone and blend them thoroughly to achieve a seamless result. Additionally, not blending thoroughly can result in harsh lines that make the makeup look unflattering.
It’s important to blend thoroughly using brushes or sponges to achieve a natural-looking result. Lastly, using too much shimmer in your highlighter can make the makeup look overly shiny or greasy. It’s important to use a small amount of product and blend it out thoroughly to achieve a natural-looking glow without looking overly shimmery.
In conclusion, mastering contouring and highlighting requires an understanding of basic techniques, selecting suitable products for your skin type and face shape, blending effectively, layering strategically for intensity when needed, considering special occasions’ requirements like lighting or photography effects while avoiding common mistakes like using too much product or not blending thoroughly enough. With practice and experimentation with different products and tools, anyone can achieve flawless contouring and highlighting that enhances their natural beauty.
If you’re interested in learning more about contouring and highlighting techniques, you should check out this article on Forte Beauty. They offer a comprehensive guide to contouring and highlighting, including tips and tricks for achieving a flawless look. Whether you’re a beginner or a seasoned pro, this article is sure to provide valuable insights and inspiration for enhancing your makeup skills.
FAQs
What is contouring and highlighting?
Contouring and highlighting are makeup techniques used to enhance and define the natural structure of the face. Contouring involves using a darker shade to create shadows and add dimension, while highlighting uses a lighter shade to bring forward and accentuate certain features.
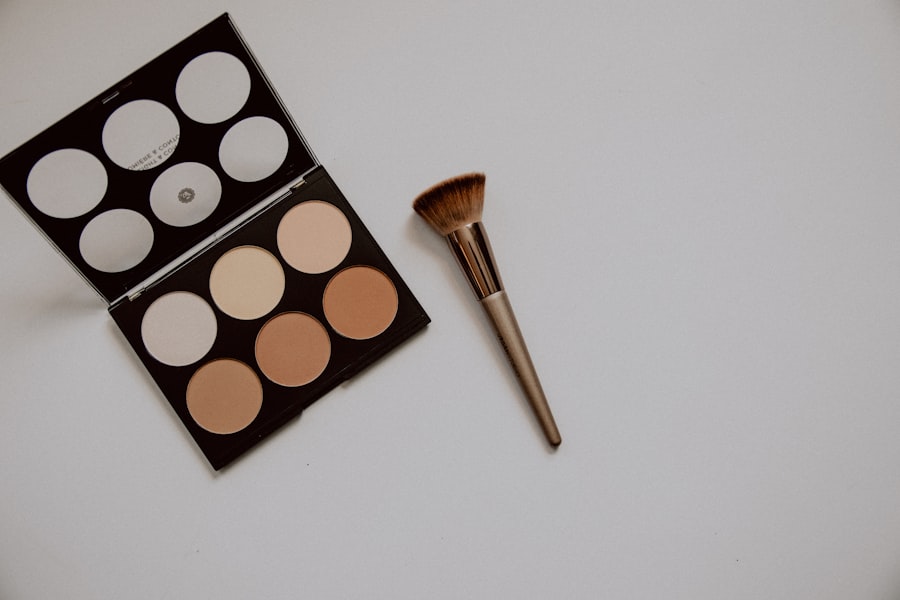
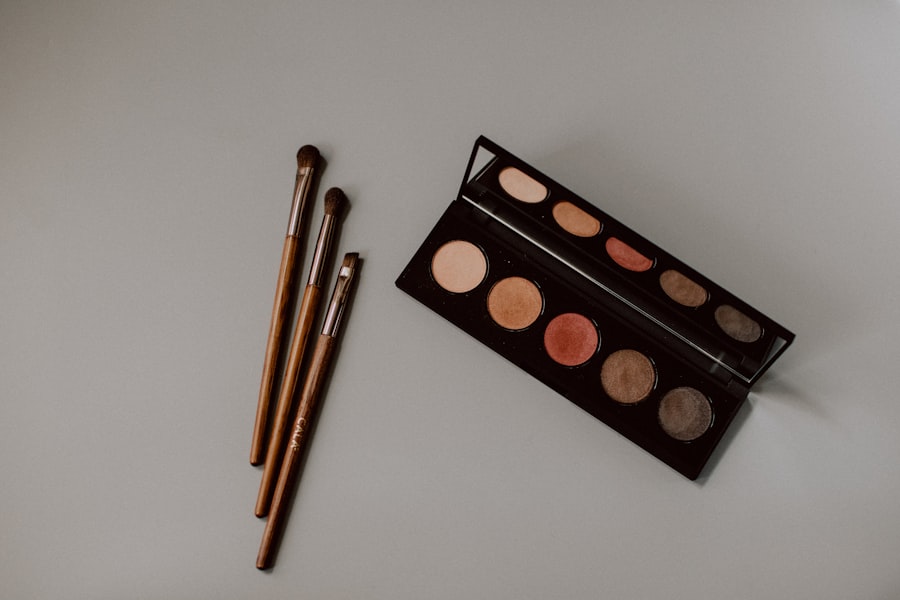
What products are used for contouring and highlighting?
Contouring and highlighting can be achieved using cream, powder, or liquid products. Commonly used products include contour powders, bronzers, and contour sticks for contouring, and highlighters, illuminators, and light-reflecting powders for highlighting.
Where should contour and highlight be applied on the face?
Contour is typically applied to the hollows of the cheeks, along the jawline, and on the sides of the nose to create a more sculpted look. Highlight is applied to the high points of the face, such as the cheekbones, brow bone, bridge of the nose, and cupid’s bow, to add luminosity and draw attention to those areas.
What tools are used for contouring and highlighting?
Contouring and highlighting can be done using a variety of tools, including makeup brushes, beauty sponges, and fingers. Different tools are used depending on the texture of the products being applied and the desired intensity of the contour and highlight.
Are there different contouring and highlighting techniques for different face shapes?
Yes, there are specific contouring and highlighting techniques tailored to different face shapes. For example, those with a round face may focus on elongating and slimming the face, while those with a square face may focus on softening angular features. It’s important to consider individual face shapes when applying contour and highlight.